Kratom Candle – How to make a kratom candle
Kratom Candle – How to make a kratom candle
Kratom Candle – How to make a kratom candle – There are many benefits you could get from simply lighting an aromatherapy candle. Taking things to the next level, you can try to make Kratom aromatherapy candle to get the benefits of both properties.
Generally, aromatherapy candles can help you relax, feel calm, energized and help your brain get into a more productive mindset.
What’s more, Kratom is known for its main benefits of pain relief, help with sleep disorders, mood and energy boost.
With all of those properties, Kratom aromatherapy candles can be one of the essential parts of your overall well-being.
Therefore, knowing how to make one of these candles will come in handy for you too.
Carry on to find out!
WHAT YOU NEED – Kratom Candles
Before telling you how to make it, here is a list of things you will need to make Kratom aromatherapy candle:
- 2 tablespoons of Fresh kratom leaf / Crushed Kratom Leaf / Kratom Powder.
- 6 cups of pure soy wax flakes
- 3 natural wicks (hemp, cotton, or wood)
- 6 teaspoons of essential oil
- 3 4-ounce glass or metal container
- Saucepan
- Old aluminum can for melting wax
- Kitchen thermometer
- 3 pair of chopsticks or clothespin to hold the wicks
(These ingredient will yield 3, 4-ounce Kratom candle for Aromatheropy)
WHAT TO DO – Kratom Candle
Time needed: 3 hours and 15 minutes.
Here are the 5 steps to make Kratom aromatherapy candle:
- Melt The Wax
Place your soy flakes in the old aluminum can. Fill the saucepan halfway with water and place the can of soy wax in the center.
Allow the water to simmer until the wax melts completely. - Add Kratom Powder & Essential Oil
Remove the can and place your kitchen thermometer in the hot wax. Check the temperature every few minutes until the wax cools to 185 degrees or a bit lower.
Add your Kratom powder and essential oil. Stir to combine. - Anchor The Wick
Anchor the wick to the bottom of the container using a bit of wax. Make sure you place the wick in the center of the container. Use a clothespin or chopsticks to keep it upright.
- Pour The Wax
Pour the wax into the container and allow it to cool for several hours, or overnight.
- Cut The Wick.
Cut the wick to about 1/8 inch above the wax to reduce soot and your candle is done!
PRO-TIPS
- If you are not sure how much wax you need, you can fill your container with the wax flakes first. Then, double it up. That’s how much wax you will need to melt to fill the container.
- To keep the scent from fading over time, always keep your candle covered when not in use.
- Use soy wax so your candle could burn longer and cleaner, resulting in less soot and smoke in the air, while elongating the natural scents.
- Use natural waxes to avoid toxic substances that crank out when you lit your candle
After following through the steps, you will get your aromatherapy candle.
However, if by chance you are not sure which Kratom powder to use, here are some of our recommendations!
How to repot a kratom cutting?
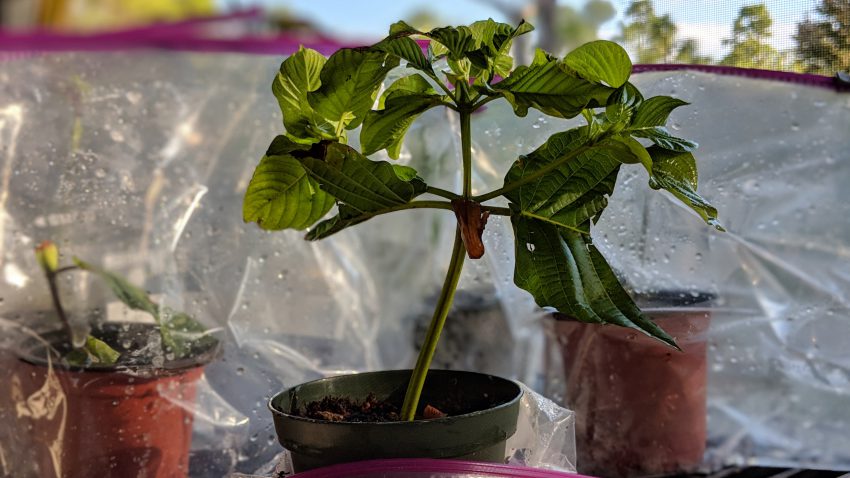
How to repot a kratom cutting?
This video shows how to repot a kratom cutting. You begin by filling the pot with soil. Make sure to leave room for your cutting. Then plant inside the soil. Cover the top with a bit of soil and water. Your all done
How to root kratom cuttings – Peat Pod/ Soil Method (2nd Method)
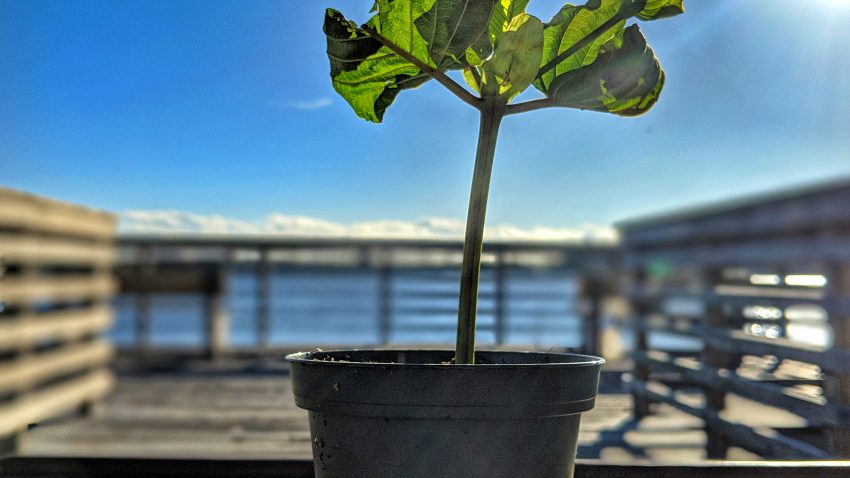
Peat Pod/ Soil Method (Other Method)
For best results inflate the zip lock bag and place it under a strong indirect light source. We get decent results just relying on a South facing window but see much better results under some sort of bright indirect light (LED, Fluro, HPS). The Kratom Bible is available here on the #kratomAPP
Rooting
Typically takes up to around 3 weeks for the cuttings to begin to root.
Watering
If the ziplock bag stays sealed water loss will be almost nothing. Misting our pouring a table spoon or two of water in there when the pod starts to firm up is recommended.
Lighting Options
Artificial lighting methods allow for quicker rooting. However a South facing window will suffice.
Repotting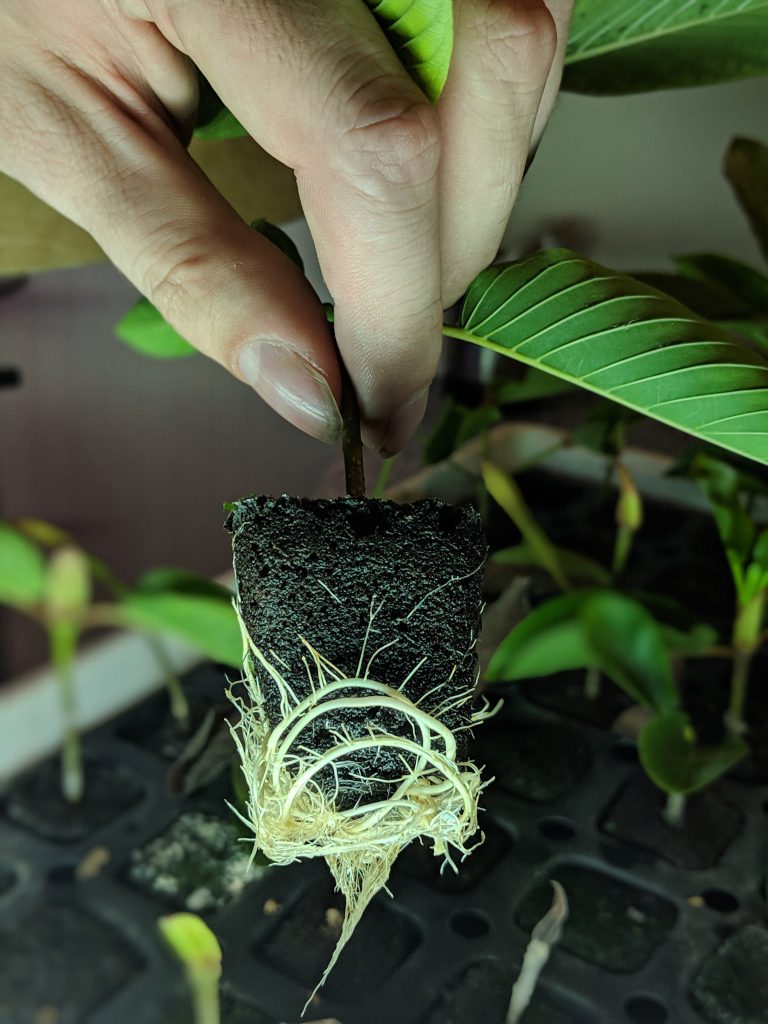
Once your cuttings establish roots, you will want to move them to a 3inch pot. Plant the entire pod and rootball in the new pot (potting soil works best).
Note from the grower
Your unrooted cuttings have already been cut back to the freshest node, and covered in rooting hormone.
How high should the humidity be?
Lastly, we add the cutting to a plastic Zip Lock like bag or you can take them out and put them into a very large plastic container. Regardless of how you are rooting them you need to ensure that the plants are kept in high humidity at all times. Do not leave the cuttings out of the bag for more then 20 min at a time. These plants require 80 – 100% humidity at all times.



Recent Comments